A beginner’s guide to food photography · i am a food blog
Steph is out sick with the flu to end all flus so I’m picking up the slack with some posts that we’ve been putting off, starting with this beginner’s guide to food photography.
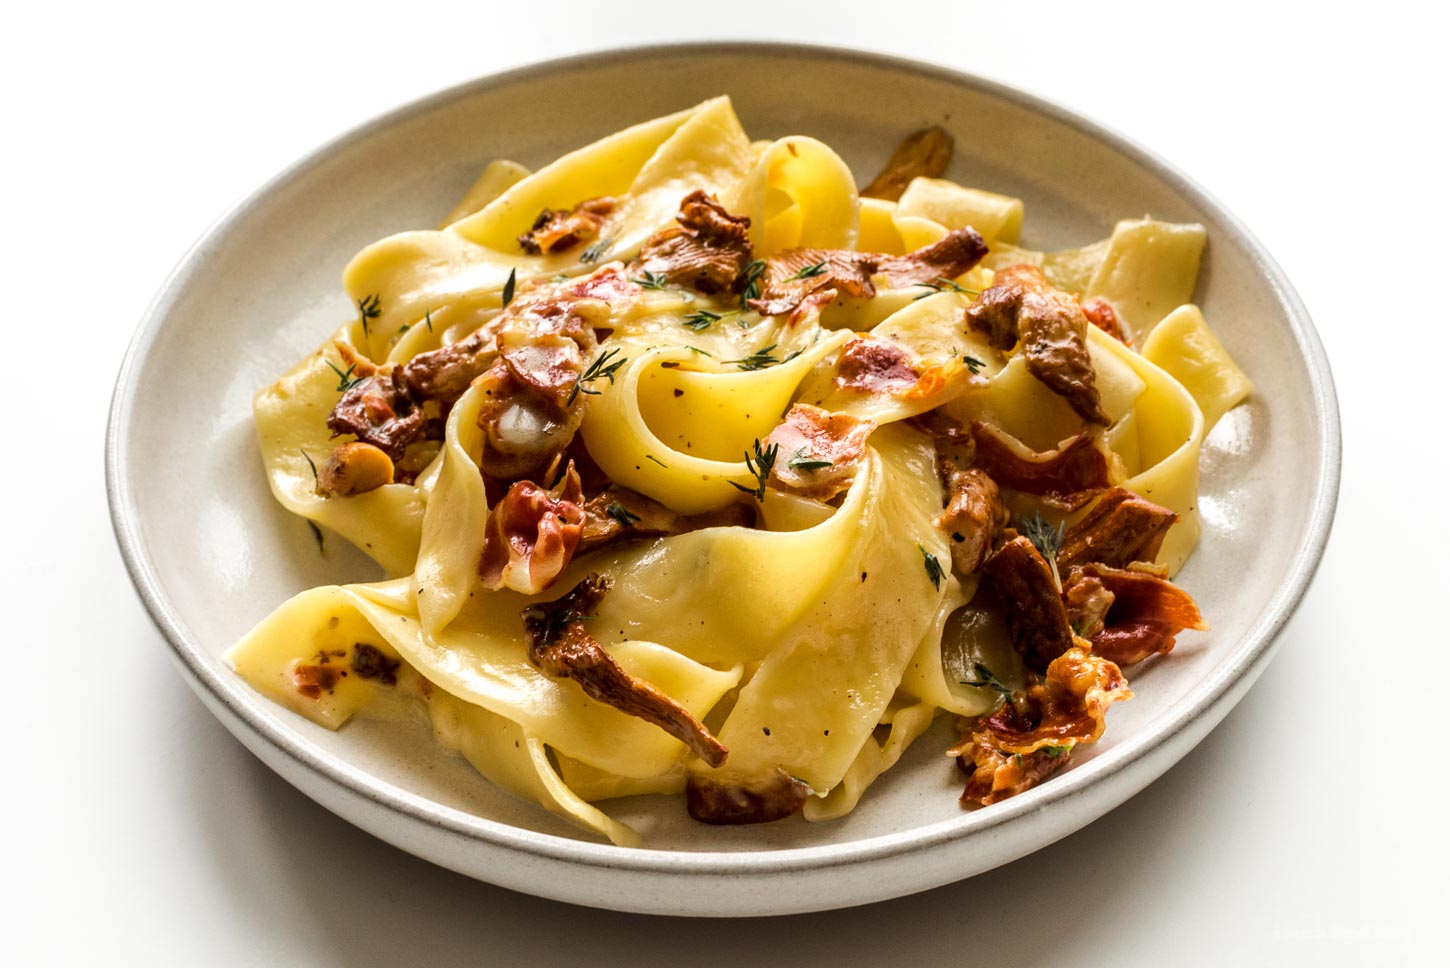
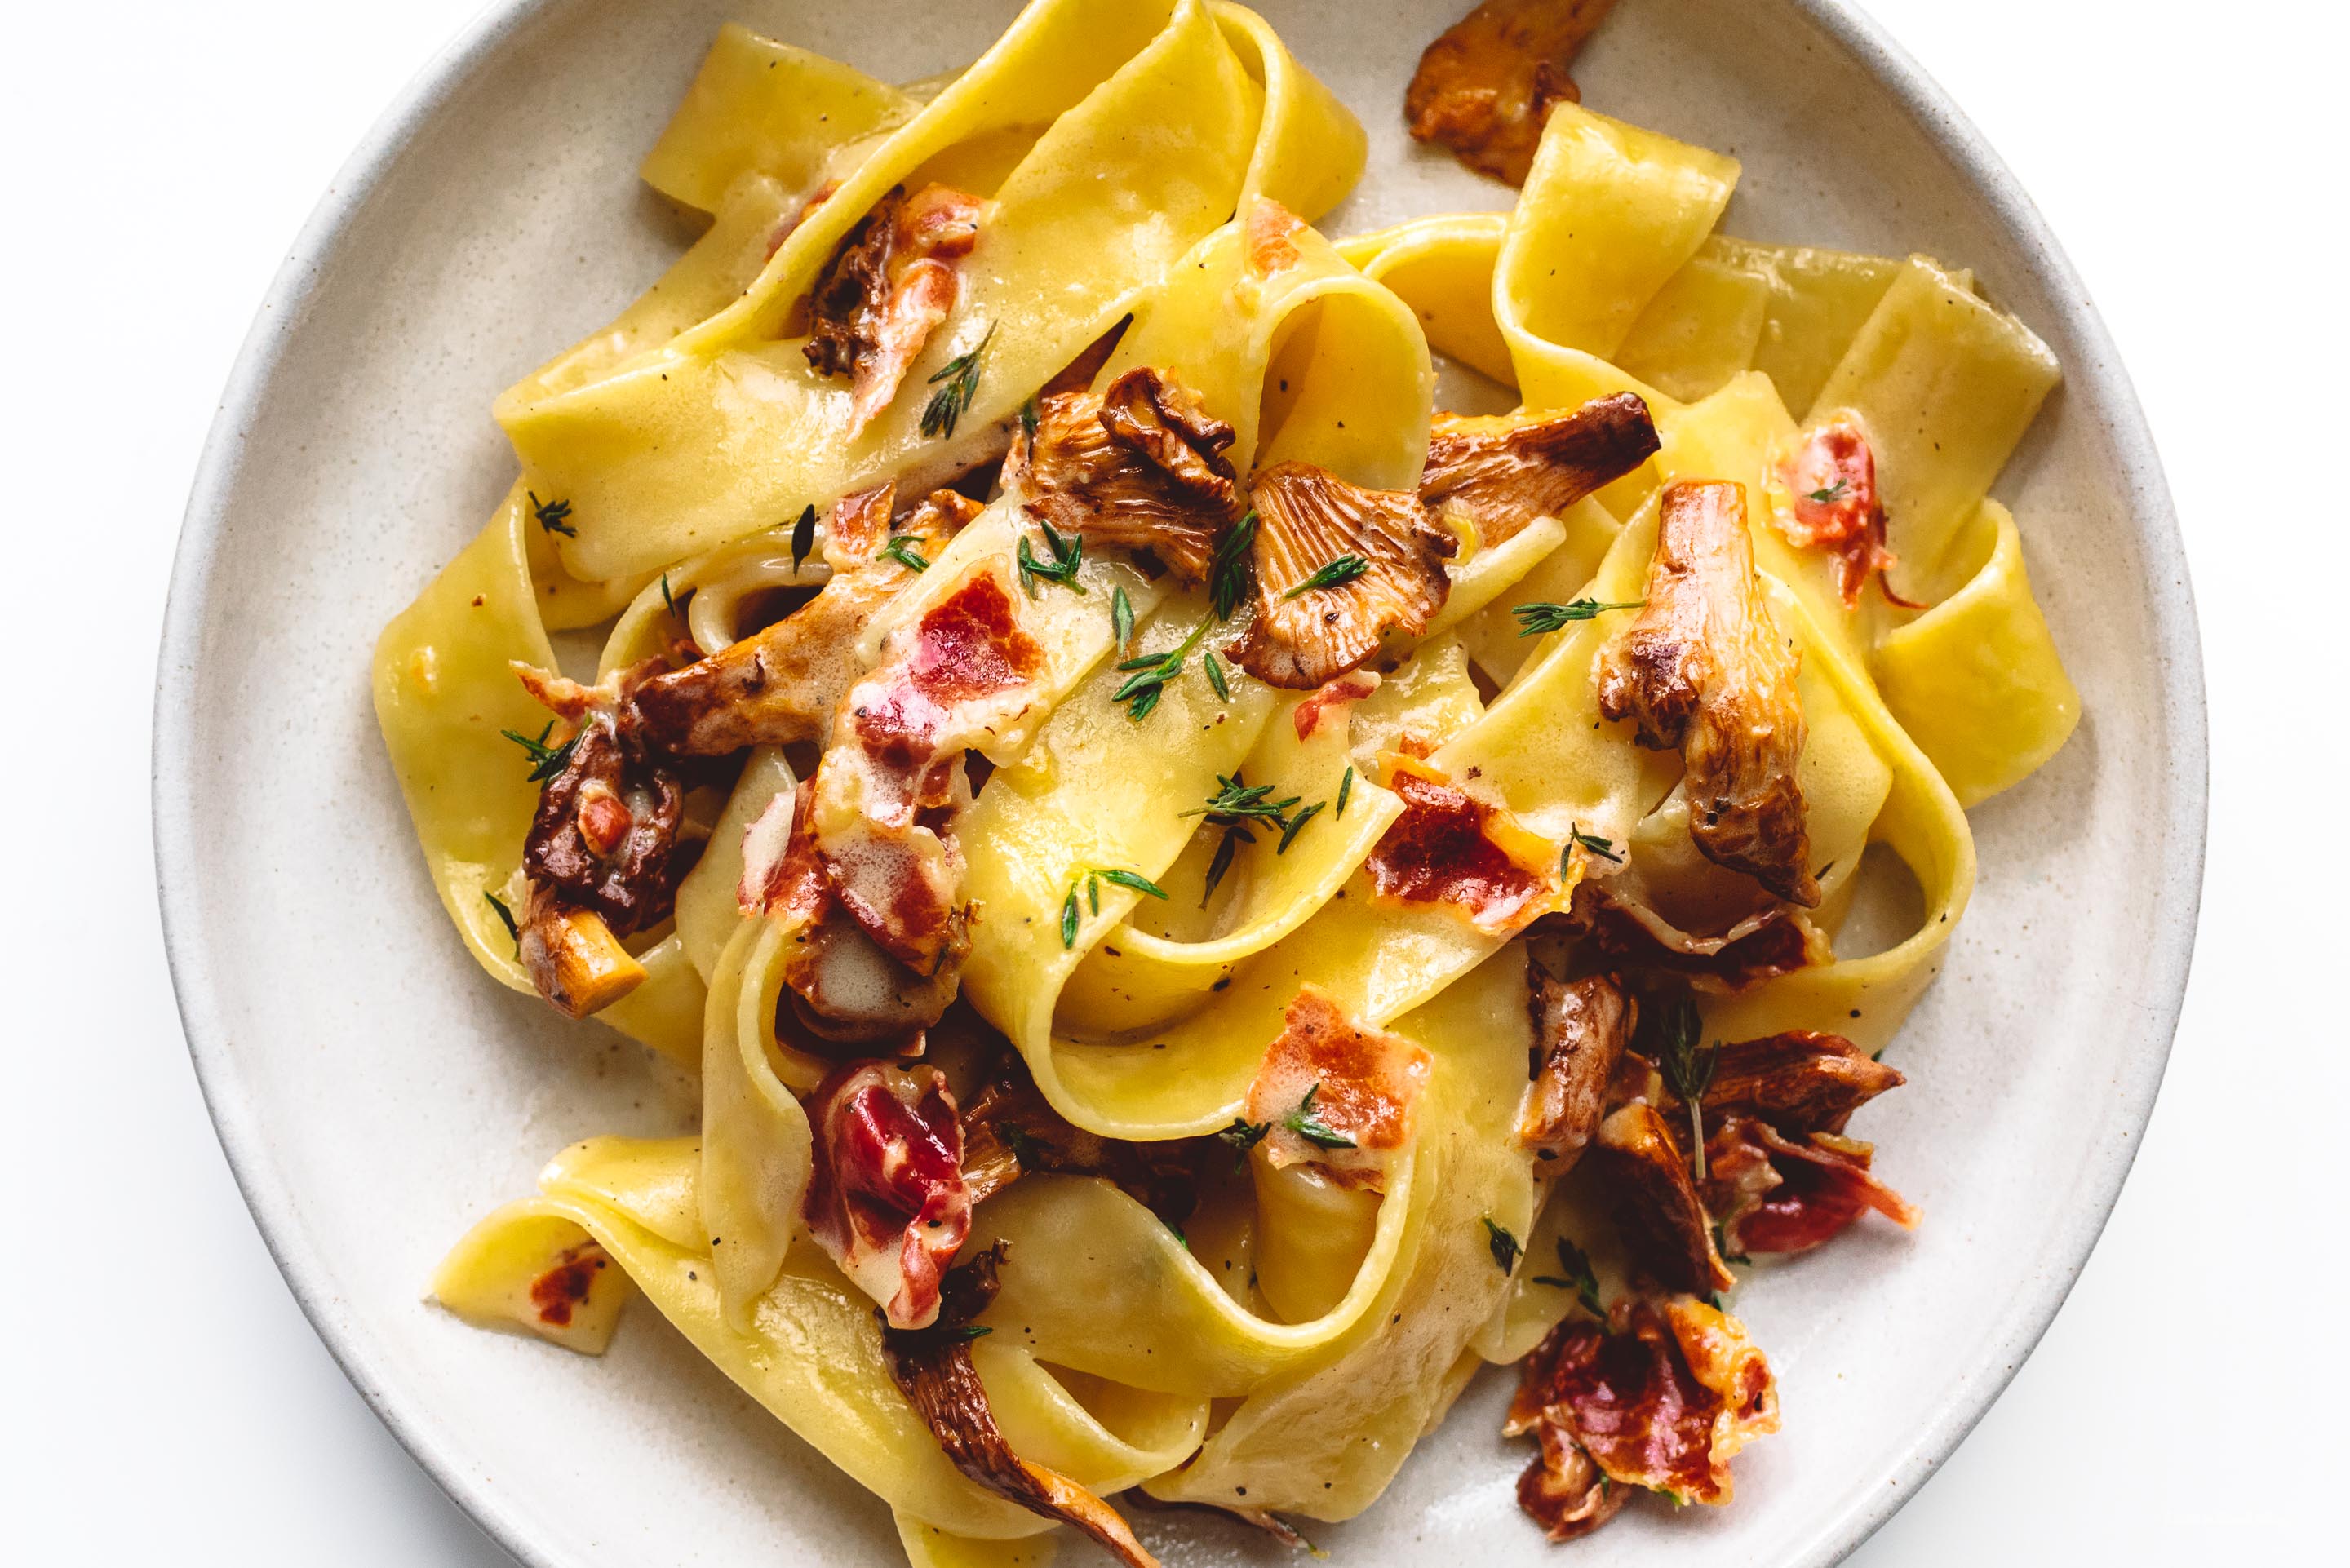
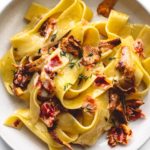
When I was first starting out shooting food, I found tons of general tips for how to take great food photos online but what I wanted most (and never found) was a guide that said: “Do you like this photo? Here’s how you make it from beginning to end” – so today that’s what I’m going to be doing with this gorgeous shot from Bon Appetit’s Pasta with Mushrooms and Prosciutto:
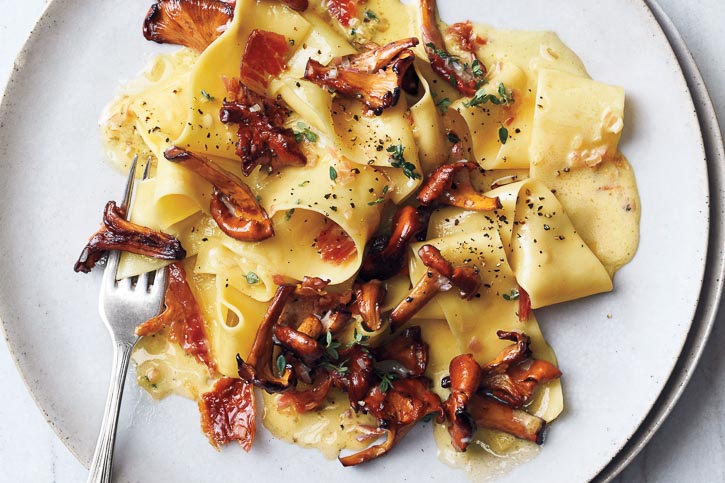

Photo credit: Bon Appetit / Michael Graydon + Nikole Herriott
It’s important to choose a good recipe to practice with because many dishes will wilt, congeal, or otherwise look unappealing when you’re taking a long time to take photos (I’m looking at you, egg yolks). This pasta is a nice stable dish that will look as good 30 minutes later as it does right out of the pan, because it’s glossy, stable, and most of all, pretty.
I adapted the recipe fairly heavily to make life simpler on myself and it ended up being a pretty amazing 6 ingredient pasta dish that you definitely need to try. I dropped BA’s ingredient-heavy sauce in favor of emulsifying cream, parmigiano, pancetta fat, and pasta water into a sauce. It came out awesome, and is easily one of the most impressive dishes you could make in 15 minutes.
This post is going to be pretty long, so it’s split up into 3 parts. Feel free to jump around or skip:
1. Technical Stuff: Cameras, Lenses, RAW vs JPEG, and Manual Shooting,
2. How to recreate the shot: Lighting, Angles, Food Styling
3. Giveaway: How to get two free awesome Nikon lenses (they fit most mirrorless cameras too)
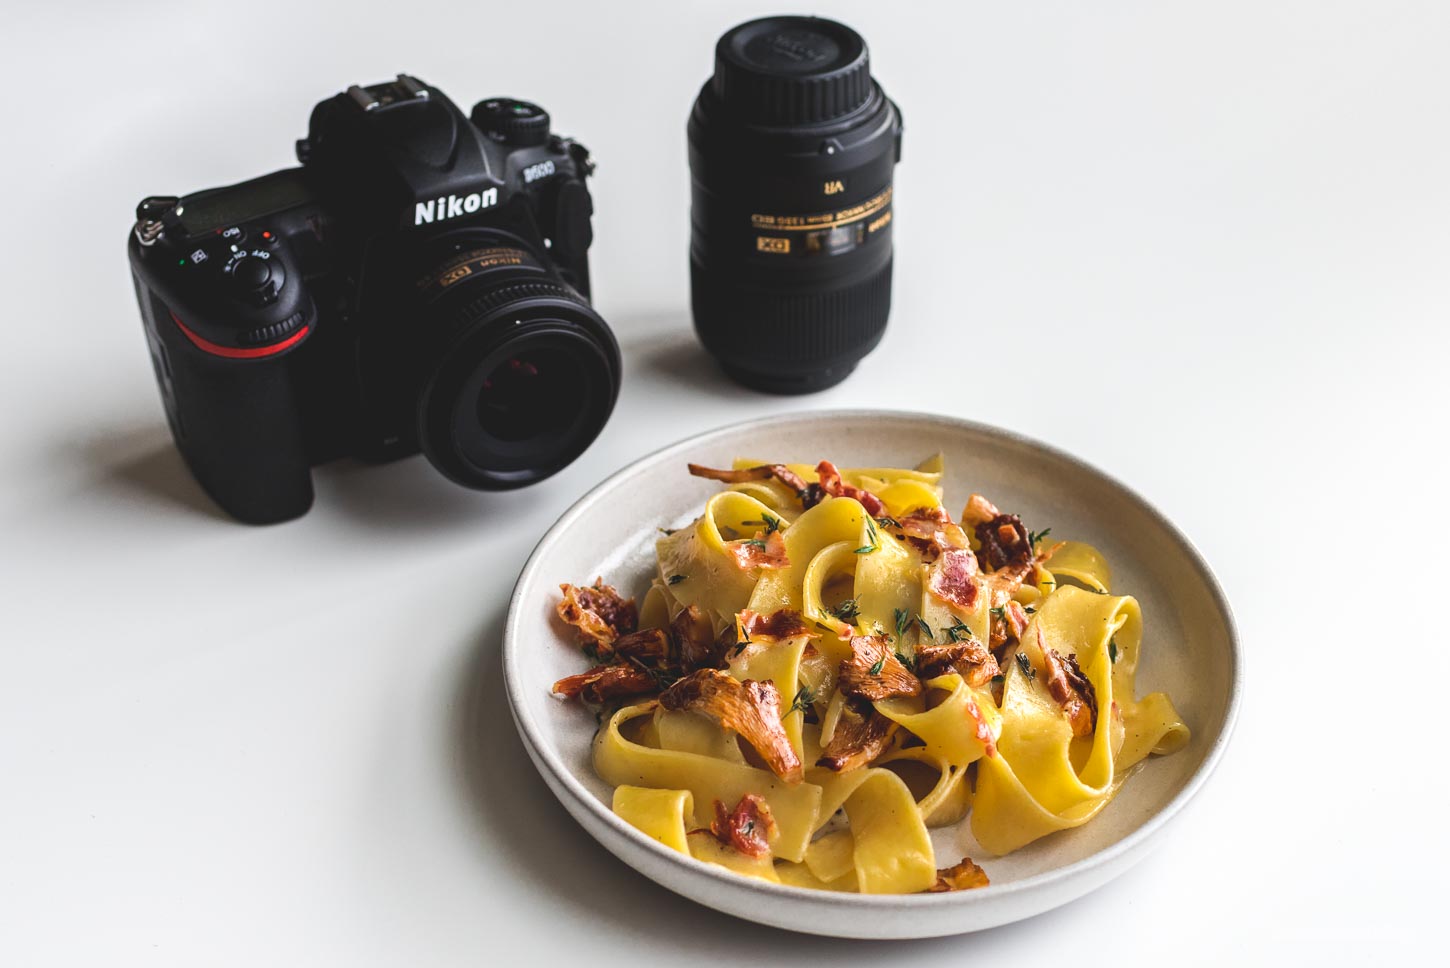

Part I – technical stuff you need to know for food photography
CAMERAS
They say the best camera is the one you have with you – I say the second best camera is the one you already own. There’s no real reason to run out and get a new camera just to shoot food. If you did want to however, there are a lot of cameras on the market these days, from mirrorless, to superzooms, to full frame SLRs that all claim to be the best thing since sliced bread, and they’re probably not wrong if you have thousands of dollars. On the more reasonable end of the pricing bin, a good budget DSLR will outperform anything else in its price range both on image quality and professional features. Even if you have thousands of dollars, when you walk into any professional studio, you’ll always see an SLR as the main camera used, and there’s a good reason for that: an SLR is a system that allows you to upgrade your component parts as you outgrow them.

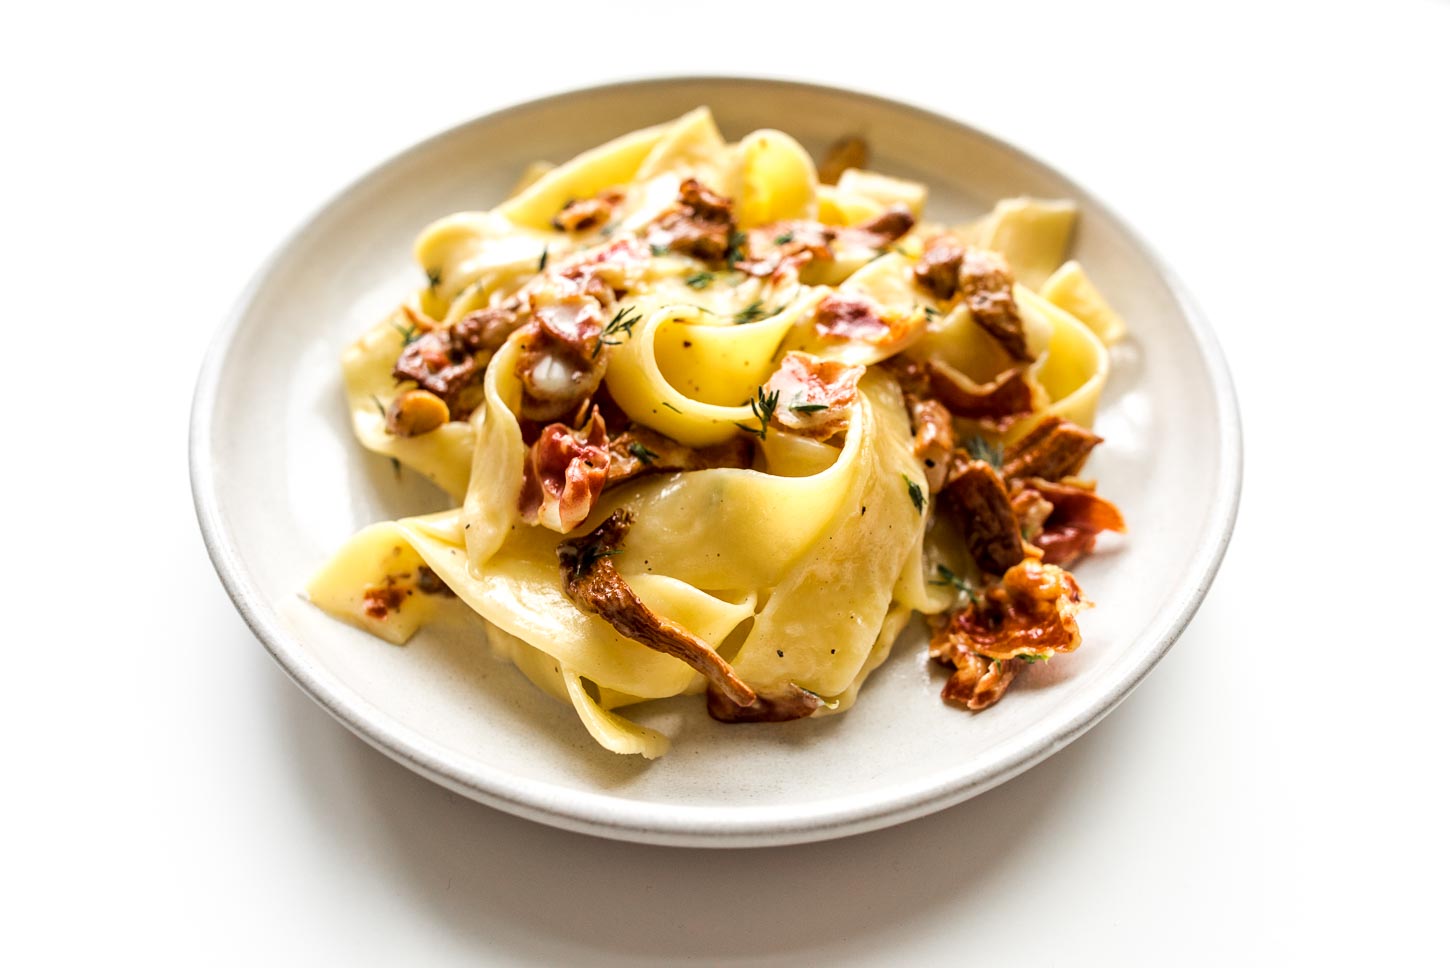
Taken with an iPhone 6
If you’re on a budget, you definitely don’t need an SLR to get good photos. All of the tips and tricks in this post work with any camera. Photography is about what you know, not your gear. But good gear certainly helps.
Takeaway: A DSLR is the best type of camera for food photography.
Budget pick: Nikon D3400
Splurge pick: Nikon D500
More money than sense: Nikon D850
LENSES
The lens of your camera is the single most important thing on it. Most people start off using the lens that comes with their camera, then look for something with creamy bokeh or something for low light. For food photography, there is pretty much no reason to get a zoom lens. The best pick for a good food lens that won’t blow your budget is a prime normal lens. A normal lens is one that doesn’t distort the image coming in, vs a wide angle or a telephoto. If you have a crop sensor – which is to say if your SLR didn’t cost $2000 or more – this means you’re looking for a 35mm lens, and if you have a full-frame, you need a 50mm lens.

20mm f/3.5 Nikon D810 – note how flat the rim of the plate looks and how much space there is between the food and plate
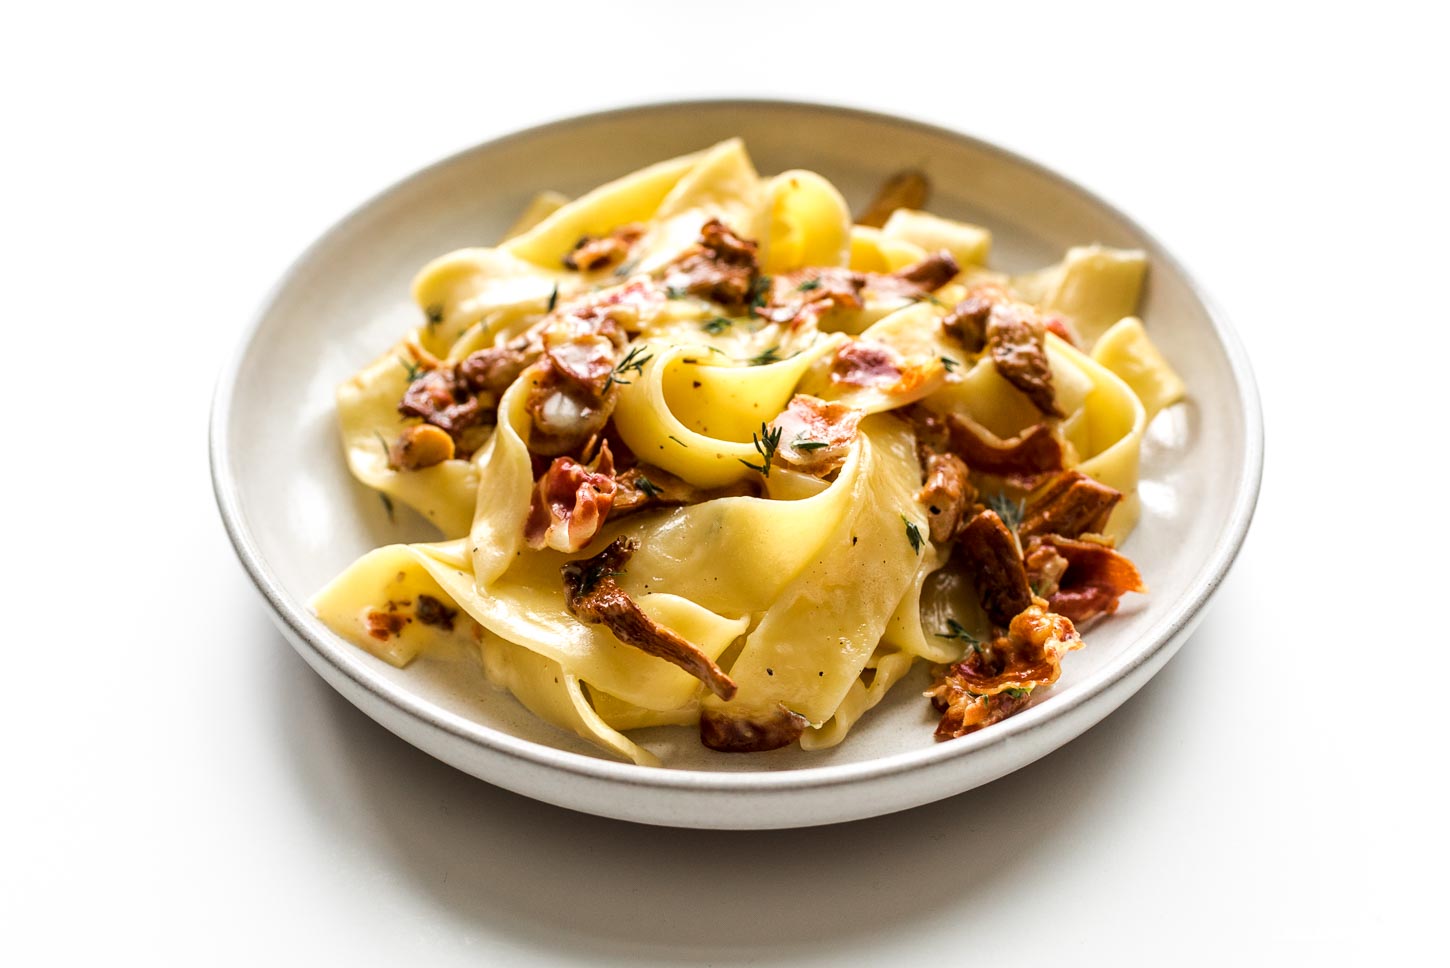

50mm f/3.5 Nikon D810
Generally, lenses are priced based on construction, focus motor, build quality, coatings, and stabilization. For food photography, you don’t need build quality, coatings, or stabilization, so if the lens will never leave the kitchen, there’s very little need to buy a fully weather sealed nano-coated lens with 6 axis stabilization.
Takeaway: Buy a prime normal lens that doesn’t break the bank.
Budget pick: 50mm 1.8D
Splurge pick: 35mm 1.8G DX
More money than sense: 50mm 1.4G
RAW vs JPEG
SLRs have the option to save your photos as RAW or JPEG. While JPEG has a smaller file size and is ready to go right out of the camera, you should really shoot in RAW when you can. RAW files contain the image information your camera sees and can be ‘developed’ in post on your computer. Your camera’s sensor actually sees a wider range of light than your eyes can see (even infrared if the filter is removed), so RAW files contain much more light information than JPEG, and that means you get a lot of headroom to play with. Photo too bright or too dark? White balance is off? You can fix that in post, but only if you shoot RAW. You’ll need something to develop the raw files in however, whether that is photoshop, lightroom, capture one, or something else.
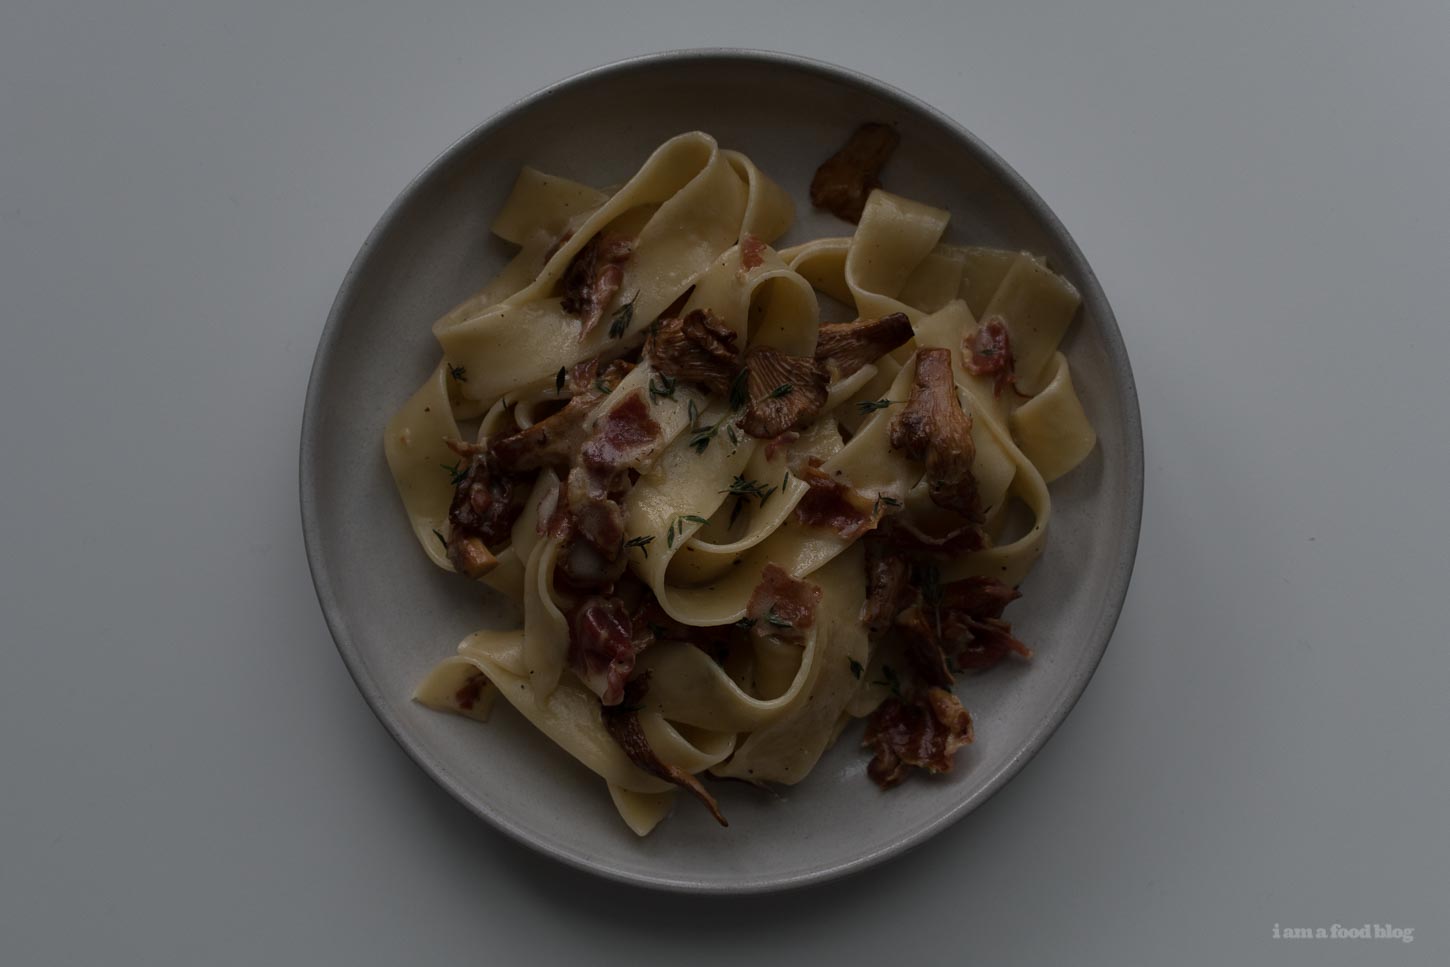

deliberately underexposed RAW shot
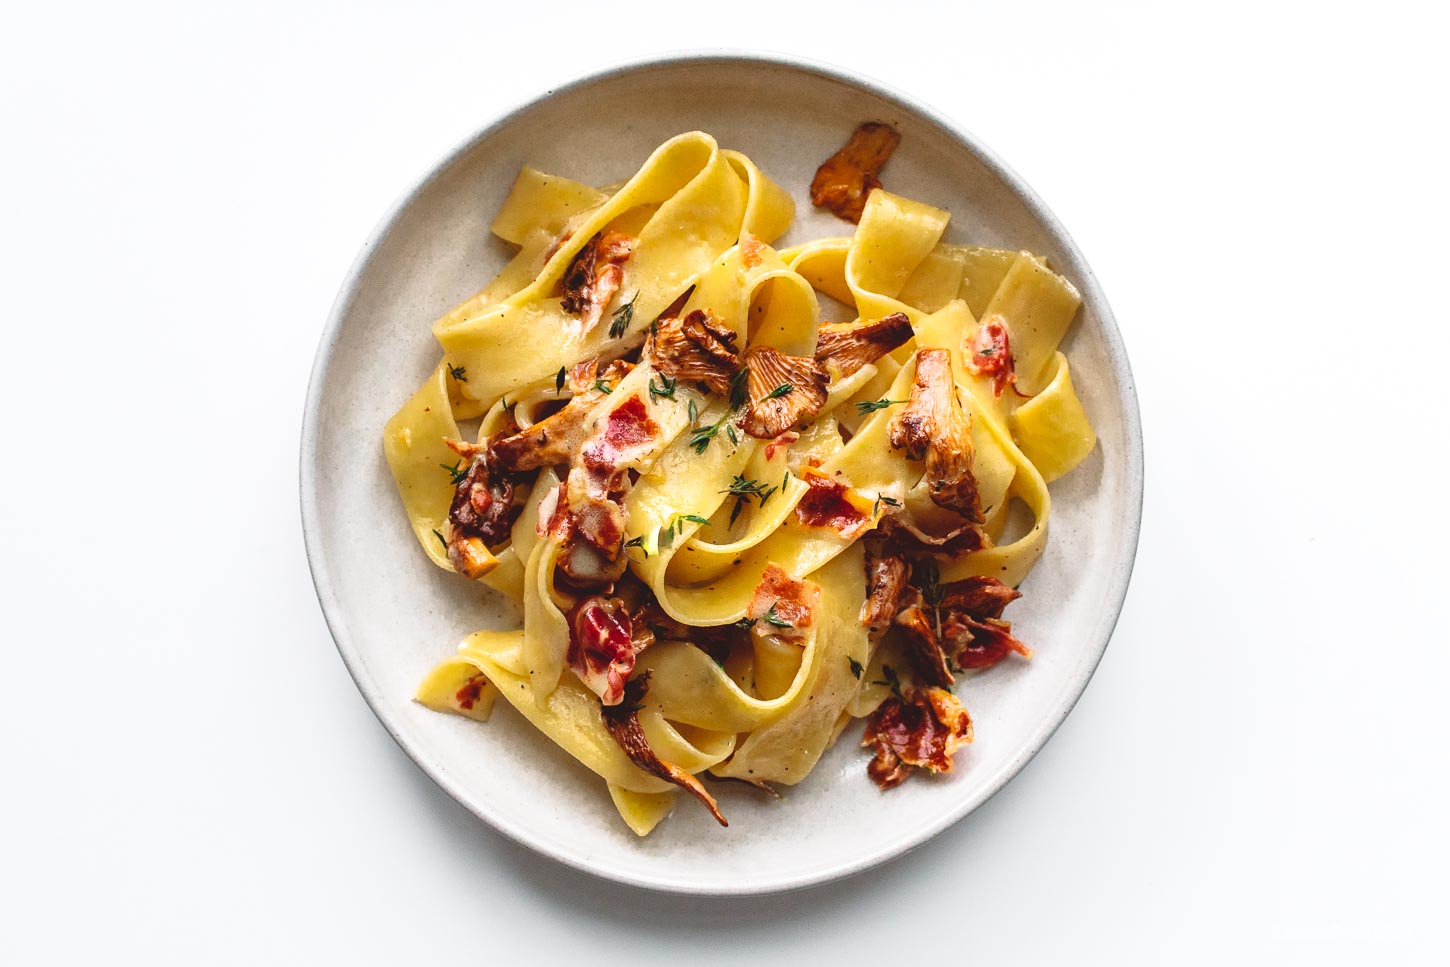

the same shot, fixed in post
Takeaway: Shoot in RAW
ISO, APERTURE, & SHUTTER SPEED
You should shoot in Manual mode. There are a lot of guides on the internet about how to use the manual controls on your camera, so I’m going to skip to the important bits. The exposure of a photography is controlled by 3 elements: ISO, aperture, and shutter speed. The idea behind this is that you balance these three items to get a properly exposed image – more ISO, faster shutter speed / smaller aperture, slower shutter speed, that kind of thing.
ISO is how sensitive your sensor is. Every sensor has a different min/max ISO, and generally speaking it’s always safe to use something between 100 and 800. The higher you go up, the grainier your photo will be, and that can definitely be an artistic choice. For food photography, I like 500.


ISO100 vs ISO12800
Shutter speed is how long the camera takes light in for. In food photography, you only need to care about two things when it comes to shutter speed: 1. is it so low your hand shake blurs the photograph? 2. Do you want to capture some falling action? The answer to 1 is to keep it above 100. If you have steady hands, you can go down to 60 or 30, but why risk it? The answer to 2 is to keep it above 1000.
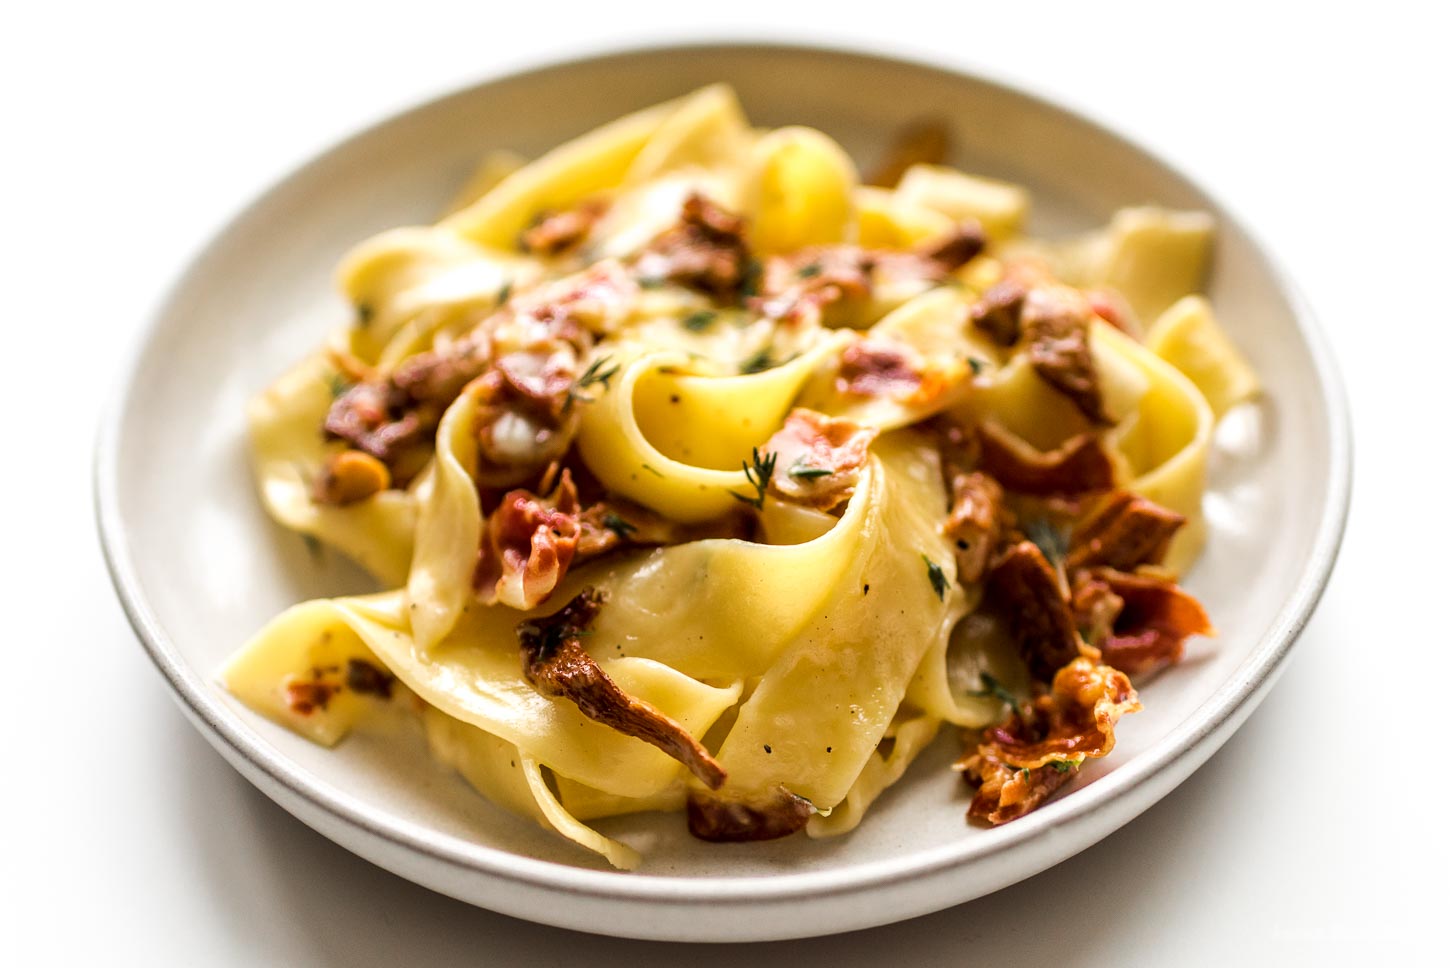

f/2.5

f/11
Aperture is how wide of an opening the lens creates, and is confusingly numbered opposite to size, so f/1.4 is a huge hole and f/16 is a tiny hole. The larger the number though, the more of the image will be in focus. Aperture’s main benefit is to determine how much of your background and foreground is in focus (bokeh) and is mostly an artistic decision, but here is a quick tip: on almost all lenses, the lowest and highest number will usually produce a less sharp image than if you use one or two stops away. For instance, on the Nikon 1.8G lenses, the sharpest image comes from F/2.8, even though the lens goes down to F/1.8.
Takeaway: ISO range: 100-800, Shutter speed above 100, aperture: avoid the first and last settings.

Part II – how to take a food photo like Bon Appetit
So now that we have the technical stuff out of the way, what do you need to know to shoot this photo? Good food photos come down to lighting, angles, and food styling.
LIGHTING
The best lighting for beginning food photography is right next to a window outside of direct sunshine, like a north facing window (or any other direction window when the sun is not shining in directly). Get as close to the window as you can. The farther away from your light source you go, the longer your shadows, and long shadows aren’t always a good thing in food photography. You should also turn off all other sources of light in the house, because conflicting light sources will wreck your white balance, cast multiple shadows, and create odd reflections.
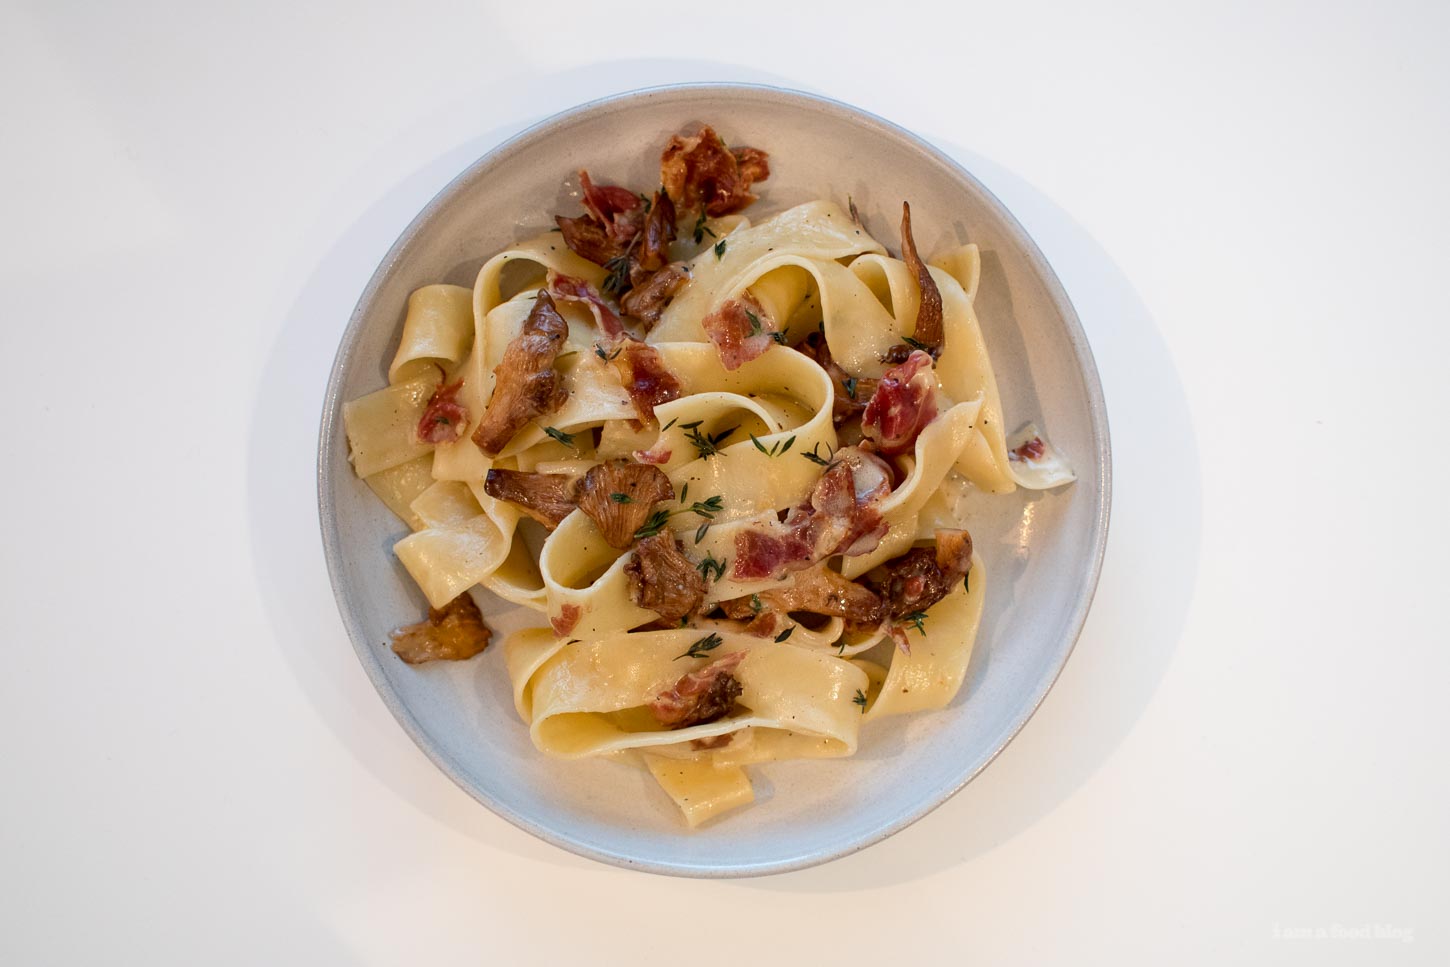

this is what happens when you have conflicting lighting sources
Takeaway: Turn off all the lights, use natural light from a window, not direct sunlight, get as close to the window as possible.
ANGLES
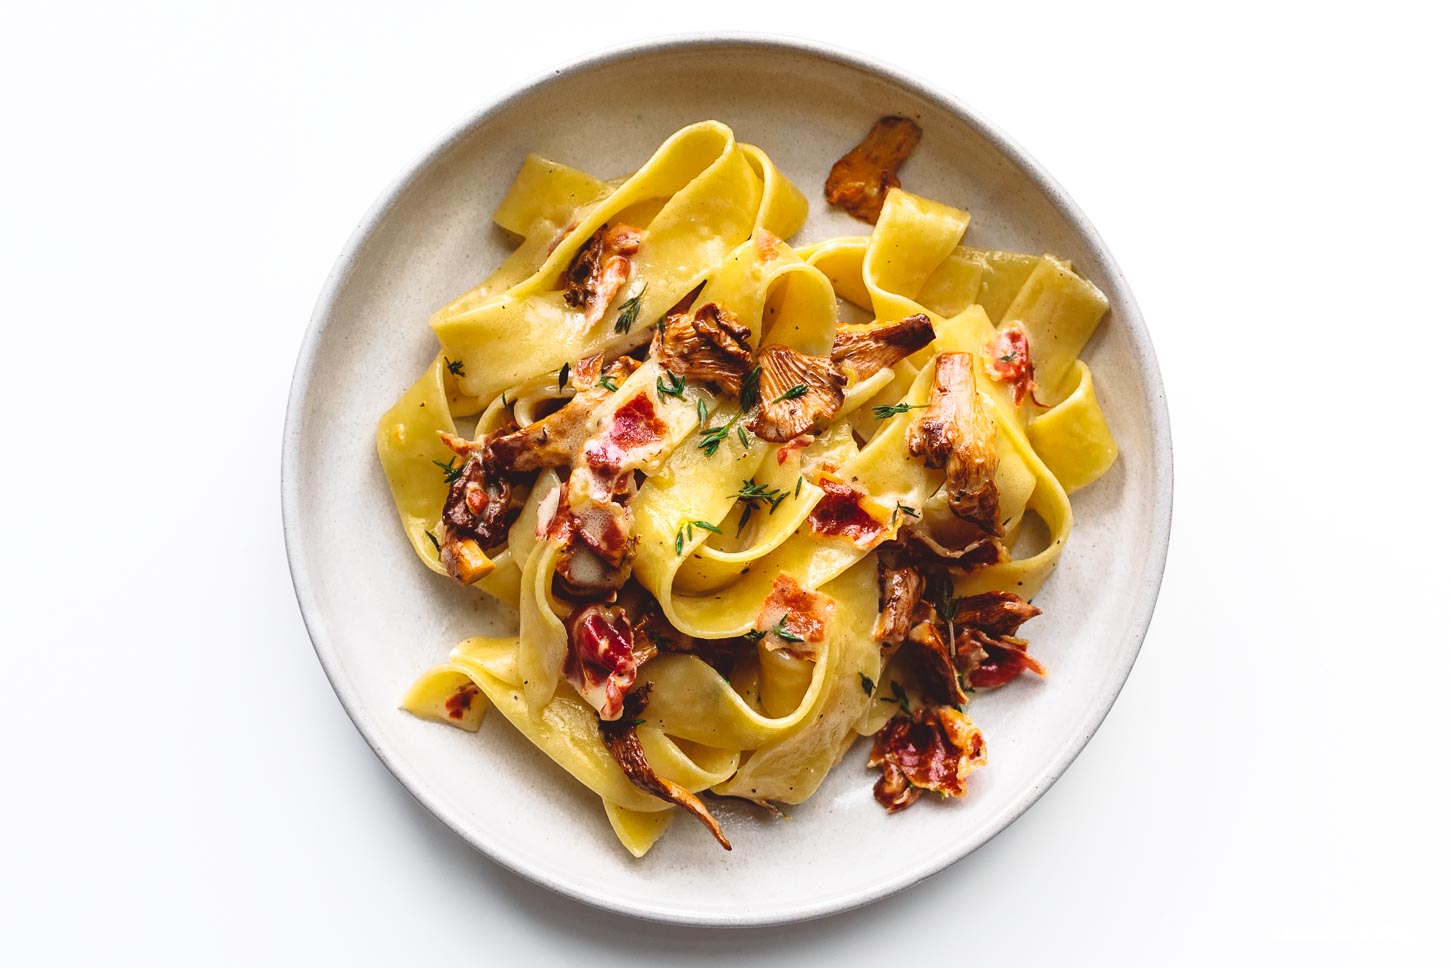
In food photography, unless you get really creative there are only three possible angles: overhead, perspective, or side view. Most people gravitate towards overhead because that’s both easiest and you don’t have to worry about having a nice background behind the food. I prefer a more perspective view, because that’s how we see food in real life, but most people will be more impressed with an overhead shot.


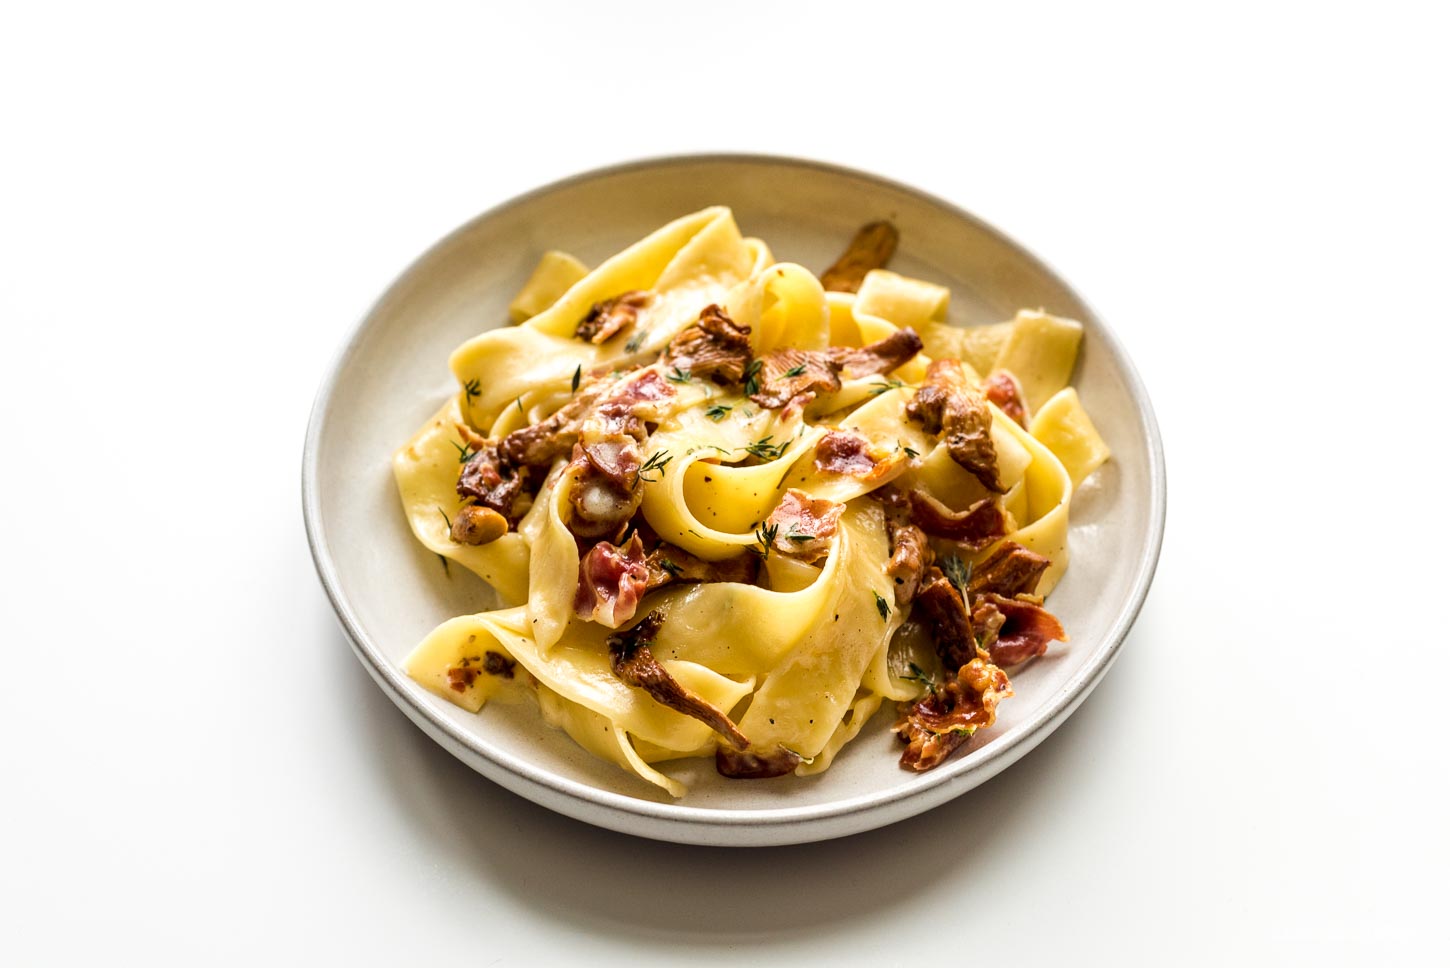


If you are shooting from perspective or side, the angle your light comes from is very important. Light from in front of your food will be brightest but wash out textures. Light from the side shows texture best. Light from behind will backlight your food. Generally speaking, stick with light from the side when shooting in perspective.
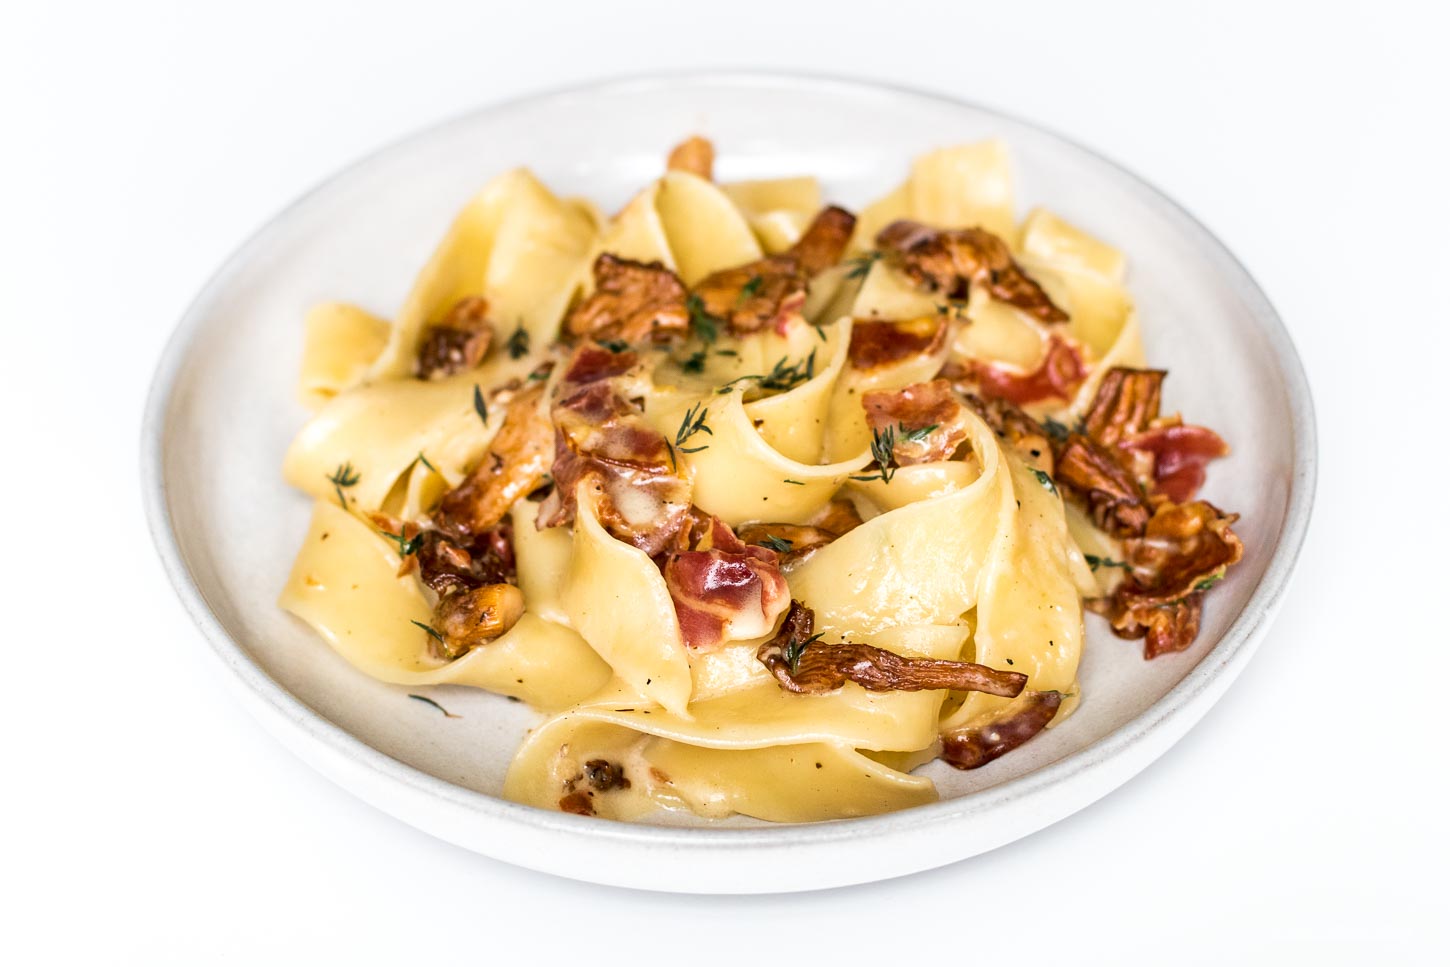

light from front
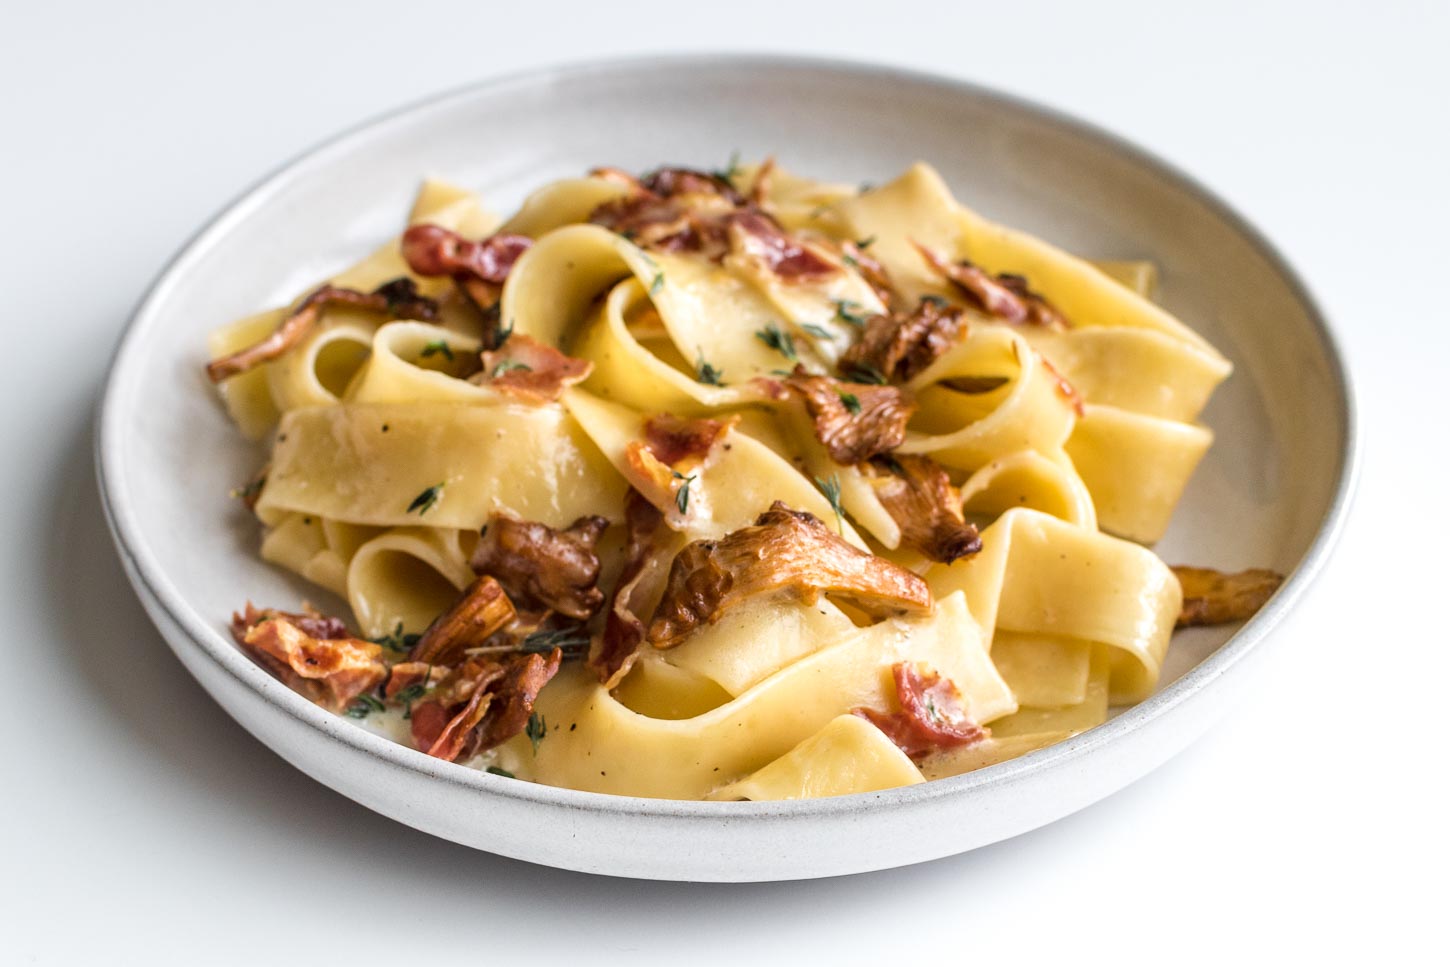

light from side
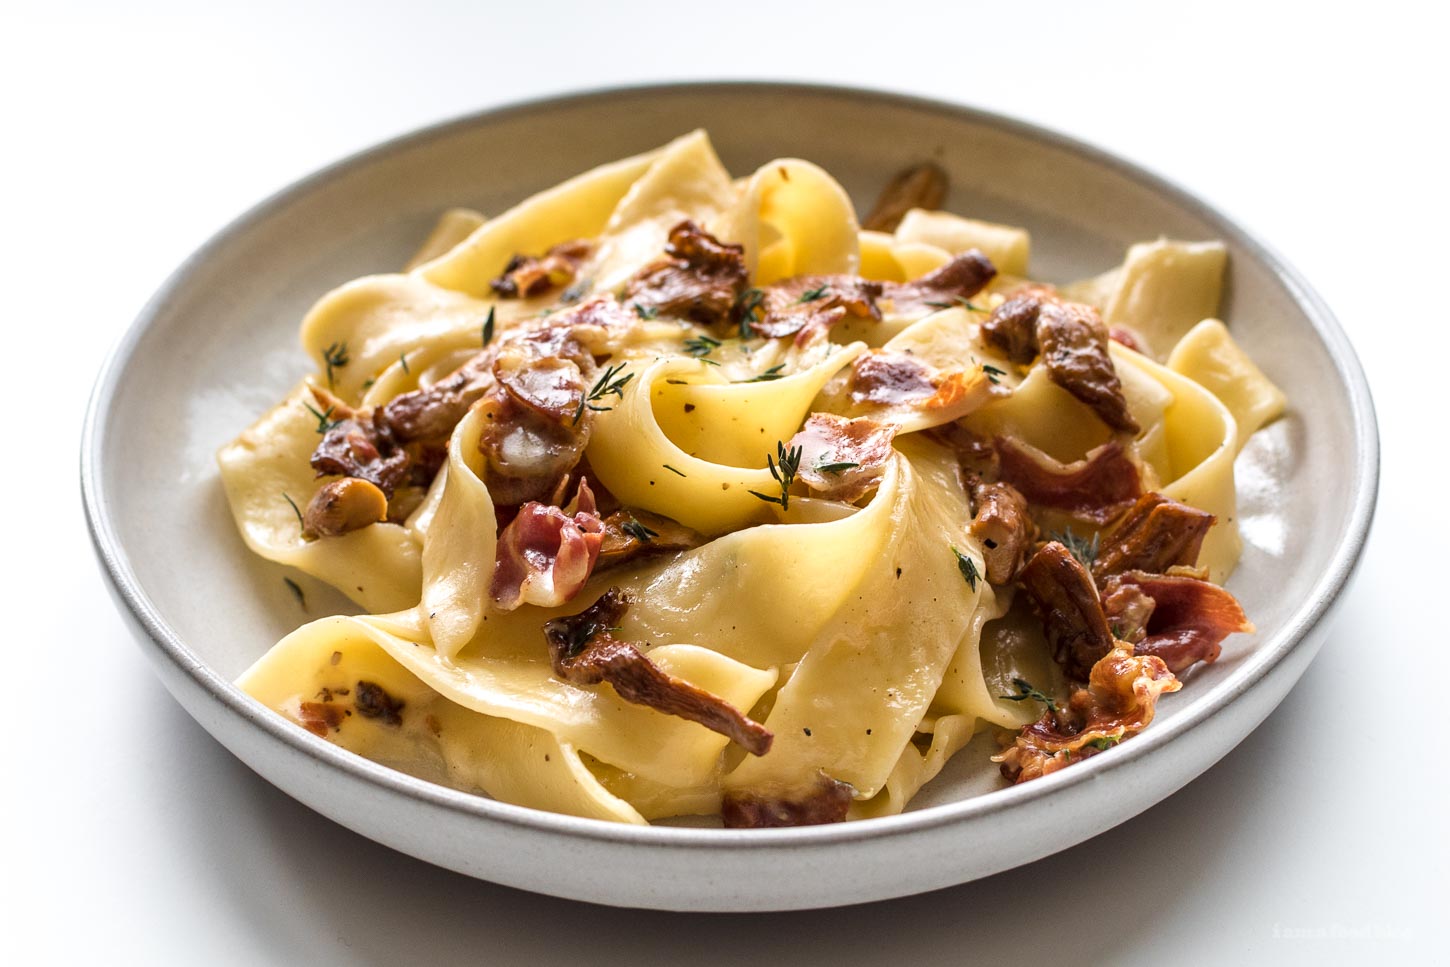

light from behind
Takeaway: Shoot from overhead, with light from the top or side
FOOD STYLING
Getting your food looking the way you want it to when you shoot is probably the most difficult part to learn, and whole courses could be developed on the subject. There are no hard and fast rules on getting food to look good, but here are my hard and fast rules:
- Food should be glossy if it’s supposed to be glossy
- Stick to a color palette, don’t go nuts
- Don’t go monochrome either
- Garnishes should be either sparing, or extremely generous
- Plate your food as a generous portion for one
If you are really serious, consider all elements before you shoot: background, plating, vertical height, side dishes and drinks, cutlery, and linens. All these play a crucial role towards the look and feel of the photo. Also important is how organic or sterile you want the feel to be. My secret trick (that I do just for me) is to eat half of the food before I shoot my hero.
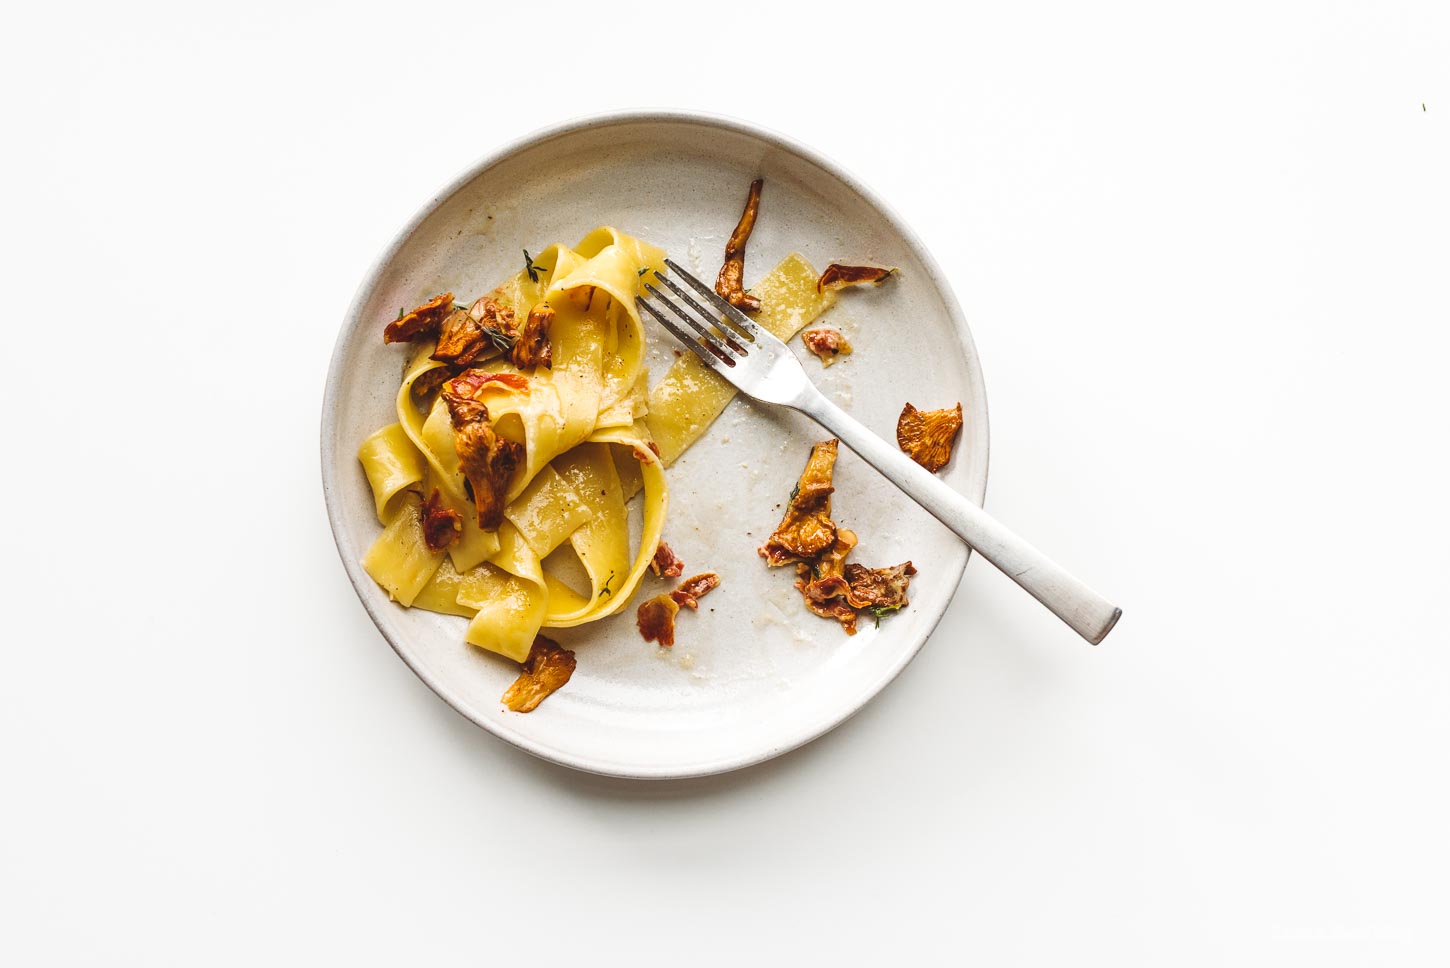

I claim that eating half of the food creates “inspiration”
Takeaway: Consider backgrounds, plating, cutlery, linens, and color palette. Plate your food for one.
WRAPPING IT UP


Photo credit: Bon Appetit / Michael Graydon + Nikole Herriott
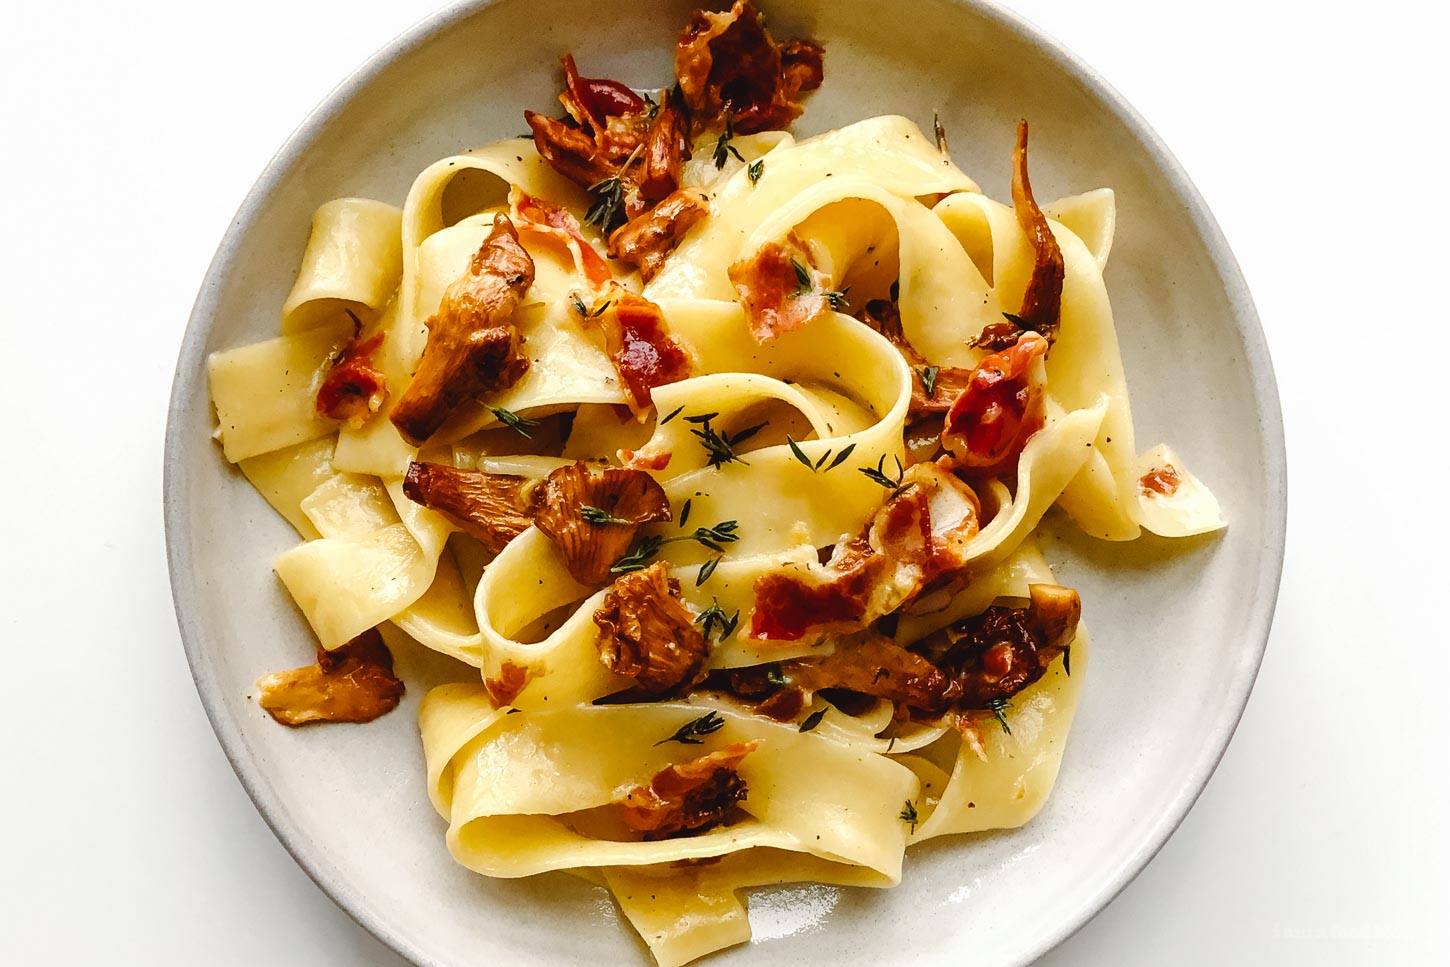
SO, with all that in mind, let’s analyze the bon appetit photo again. It’s shot from directly overhead, the light seems to come from the top and to the left a little bit, everything is in focus, on marble with a stoneware plate, with fresh thyme on top. Here is my take on it, side by side:


Pretty close right? Analyzing what was different is just as important as analysing what wasn’t. In my version, I set my white balance a little more neutral (theirs is leaning towards blue). I have less sauce, fewer mushrooms, and more meat because I changed the recipe. Last but not least, I have no freshly ground black pepper on top, and used a yellower and thicker pasta.


CLOSED! Part III – the giveaway
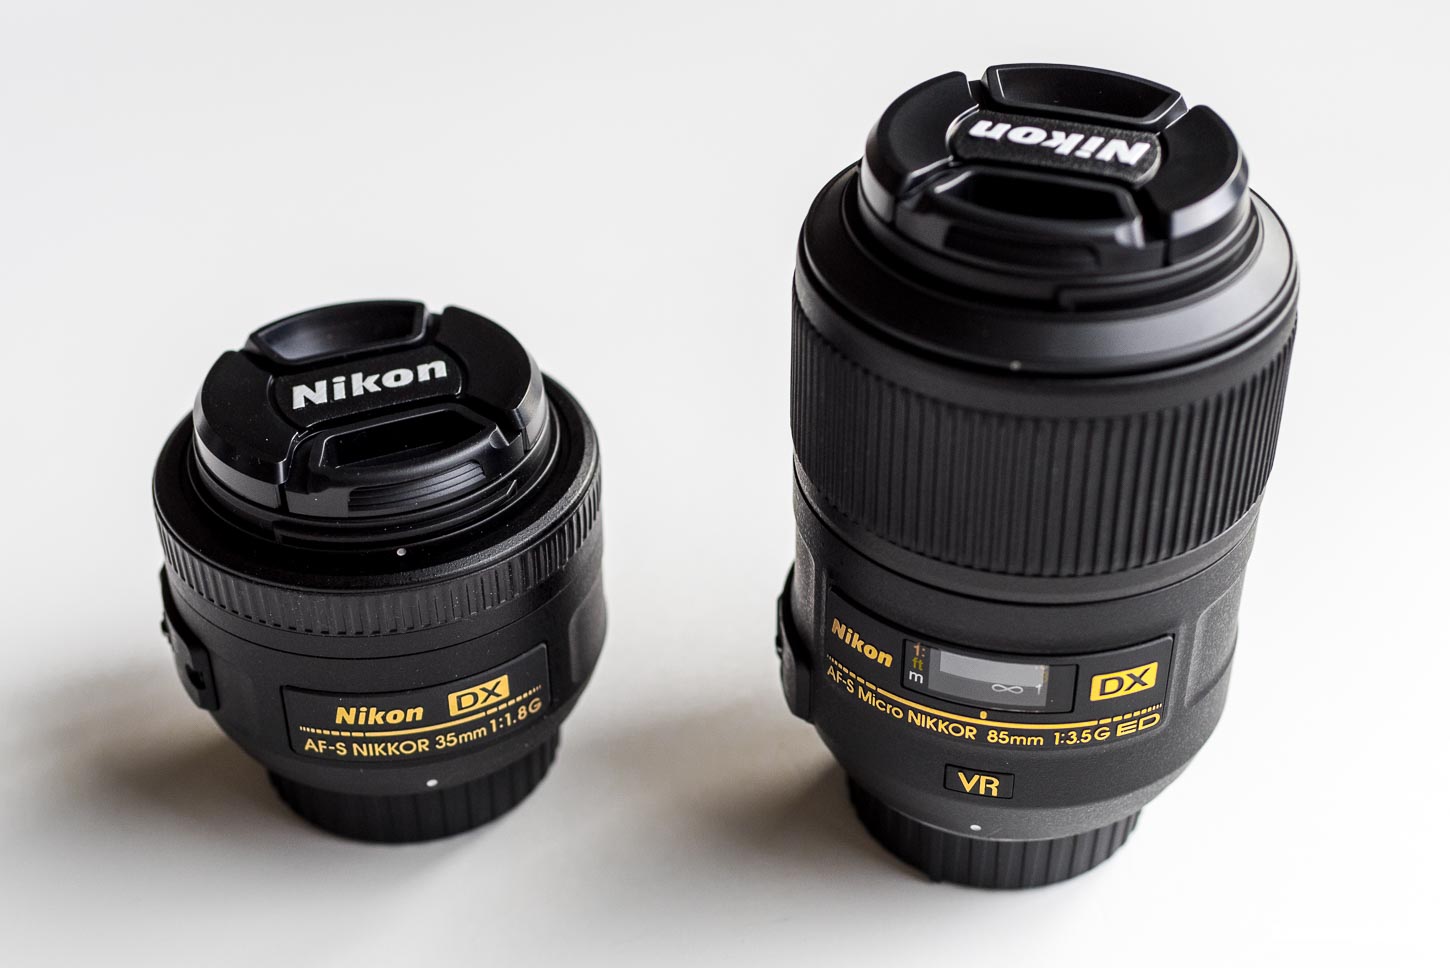
I’ve been shooting Nikon since before they made DSLRs, my first camera was a Nikon F4 and I’ve been hooked ever since, and I’ve hooked Steph into it as well. So it was an obvious choice to partner with Nikon to help new food photographers find their feet. To do this, we’re giving away 2 lenses – the 35mm f/1.8G and an amazing 85mm f/3.5G ED VR macro lens – worth $750 if you buy them today on Amazon. Both of these lenses are perfect for any new (or veteran) food photographer and both will fit every Nikon ever made, plus with a pretty cheap converter will fit most mirrorless cameras including Fuji, Olympus, and Sony.
CLOSED! Congrats Francis Moon, keep your eyes on the lookout for an email from me!
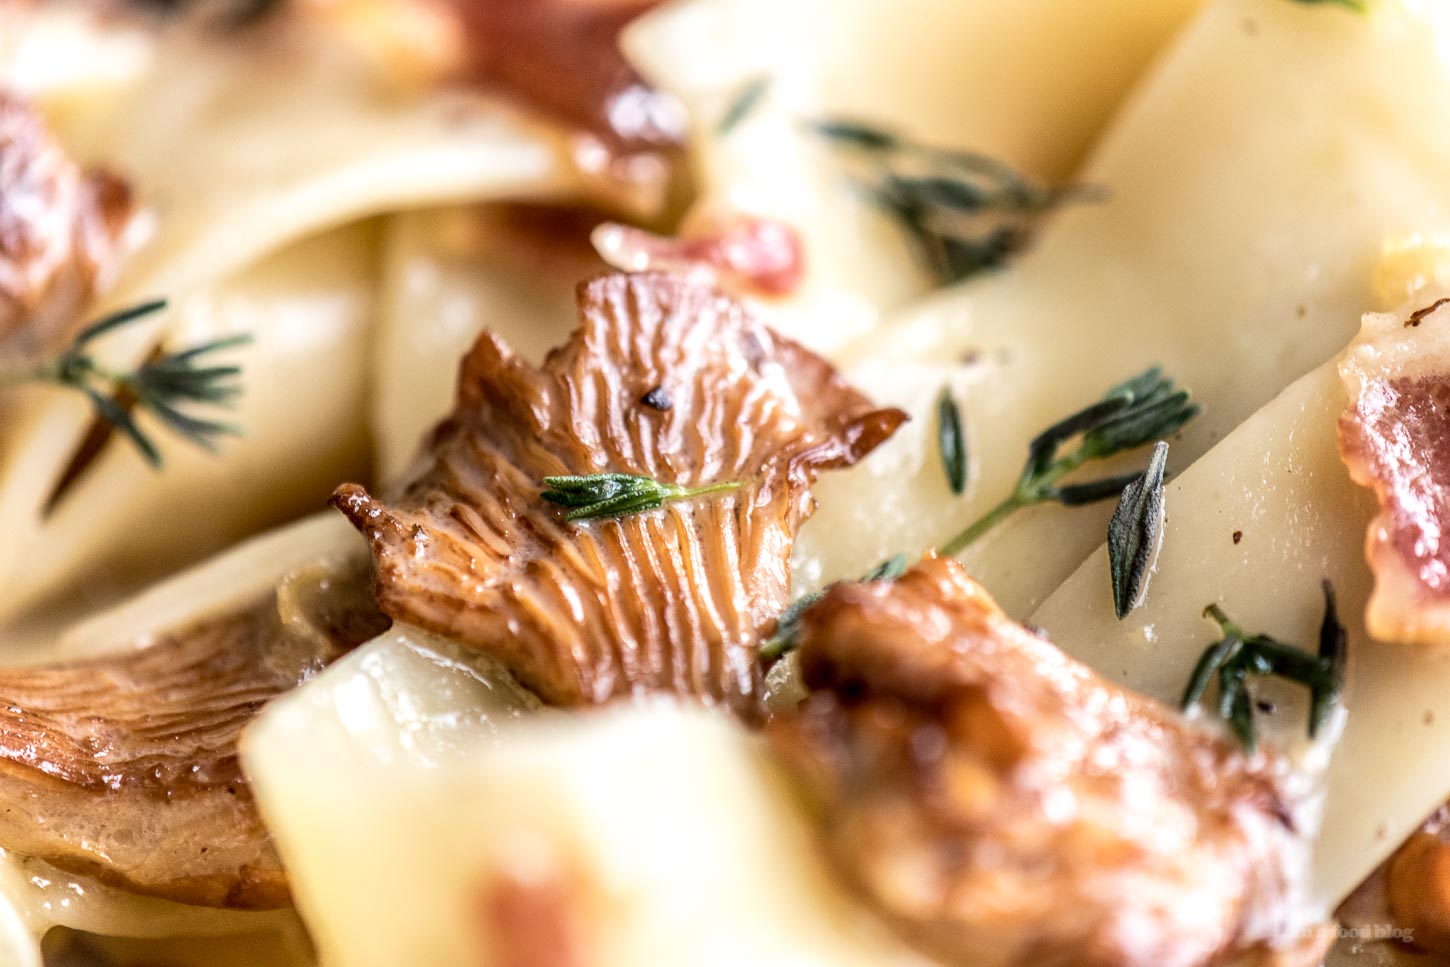

in case you ever wanted to count the grains of pepper on your food
To enter the giveaway, just link your favorite food photo in the comments and tell me why you love it. Giveaway ends Dec 18th – I can’t promise the lenses will make it in time for Christmas but they’ll be an excellent addition if someone is getting an SLR for Christmas. Giveaway open to residents of the US. Lenses generously provided by Nikon.
-Mike
- 2 tbsp olive oil
- 1 oz pancetta thinly sliced, about 5 slices
- 1/2 cup cup chanterelles torn into small pieces, or other mushroom of choice
- 1 tsp fresh thyme plus more for garnish
- 3.5 oz pappardelle or fettucine
- 1/4 cup heavy cream
- 1/4 cup Parmigiano Reggiano cheese grated
-
Set a large pot of salted water to boil.
-
Heat oil over medium heat in a large saute pan and fry the pancetta until crispy. Remove the pancetta and set aside on a paper towel lined plate. Reserve saute pan and oil.
-
Turn the heat to high and add the mushrooms to the pan. Cook for 10 minutes or until golden brown, then remove and drain. Turn off the heat.
-
Cook pasta for 4 minutes. Add a cup of pasta water to the saute pan and turn heat back to medium. Whisk oil and water mixture together until emulsified (about 1 minute).
-
Using tongs, transfer pasta to saute pan, along with another cup of pasta water, cream, thyme, and parmigiano. Reserve pasta water. Cook until pasta is the desired doneness, adding pasta water as necessary.
-
Add mushrooms and pancetta back to the pasta, season with kosher salt, black pepper, and extra thyme.
Very adapted from Bon Appetit



Post Comment